Go back to mother article
Table of Contents
KeepassXC Guide [Linux]
Downloading
There are several ways you can download KeepassXC on Linux. The download page can be found here[1]. Once clicking on this page, you will be greeted by a series of options which one to download. There is no correct version to choose from as each of them has their own purpose. I will explain these options further:
- Appimage package - This is a portable binary, similar to App bundles (.App files)
- Flatpak package - This is for those that wish to install this app via Flatpak package manager
- Snap package - This is for those that wish to install this app via Snap package manager
- Distribution-specific - This is for those that wish to install it natively via the distro's package manager, this is my recommended choice
If you encounter issues in integration later, it should be noted that the reason why I recommend distribution specific installs is because KeepassXC integration has issues with Snap and Flatpak browsers.
So if you encounter a problem, make sure that your browser is not Flatpak or Snap installed as the way how these browsers are setup on these environments might interfere with the KeepassXC integration. Distribution specific installed Browser and KeepassXC is the easiest way to make things work.
Also Ubuntu 22.04 installs Firefox as snap by default, I would recommend following this guide[2].
If you wish to make both KeepassXC and your browser to work in Flatpak or Snap (because of additional sandbox protection), I heard that it is possible, but may require additional setup so be warned!
Getting Started
Now that you have finished installing KeepassXC and you are already running the application as instructed earlier, now you must need to learn a couple of things about this password manager.
Before you are able to begin, you must first create a KeepassXC password/database file. This file is where everything is stored. So if you are aiming to make your passwords synced across different computers, saving this file to a cloud drive or synced folder is a must.
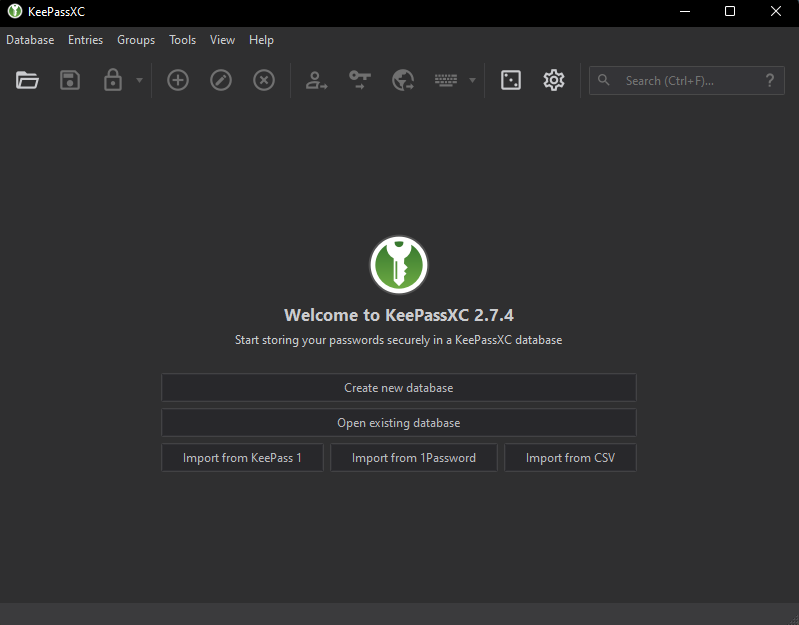
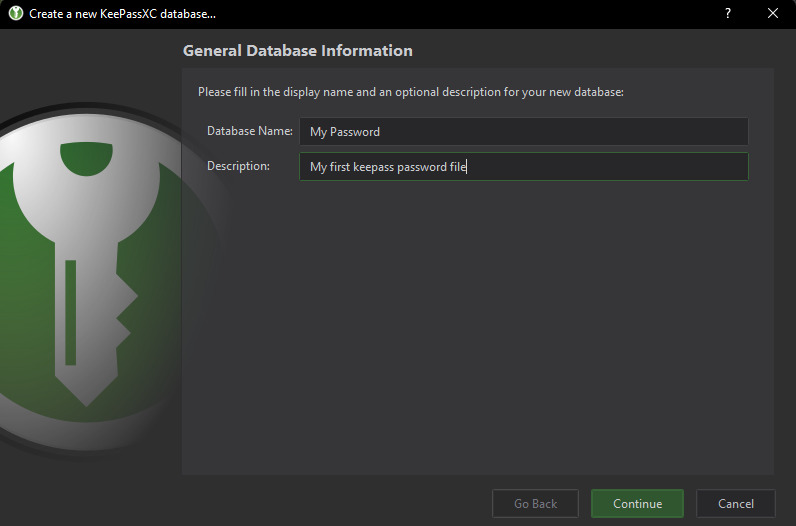
Clicking on the [Create new database] will prompt you to a new window asking for what will be the name of your database and description. I often leave those entry by default but feel free to adjust.
Once after that, you will be greeted with a slider asking for a decryption time and database format. I recommend adjusting to the highest decryption time for more security but if you want my settings, I recommend going to the advance settings and filling up these values
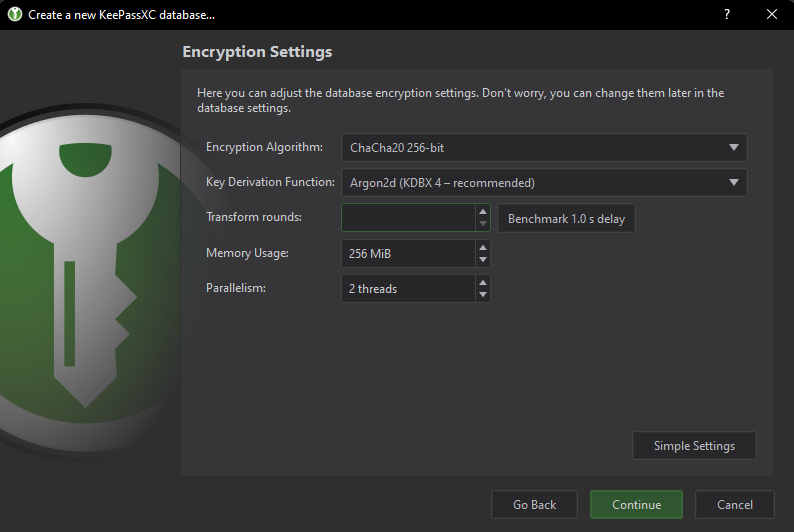
Reason why I recommend ChaCha20 over AES256 is because it is more resilient to key-based attacks (which is I consider part of my threat model), then I adjust to 256mb memory usage as I consider this as an overkill value (Note: That Transform rounds and Memory usage are there to prevent bruteforce GPU key attacks, which is also what is adjusted on the Simple setting slider).
Lastly, I intentionally left the Transform rounds empty because this part will be hardware dependent. To determine the value for your hardware, press the [Benchmark 1.0s delay] button and multiply the value by either 9 or 10. So for example when I click the [Benchmark 1.0s delay], it fills in the Transform rounds textbox with 6. 6x9 = 54. Therefore my Transform rounds value is 54.
The [Benchmark 1.0s delay] is highly dependend on the Memory Usage and Encryption algorithm set before the button is pressed. So make sure you set the encryption algorithm to ChaCha20 and Memory Usage to 256mb first before pressing the button.
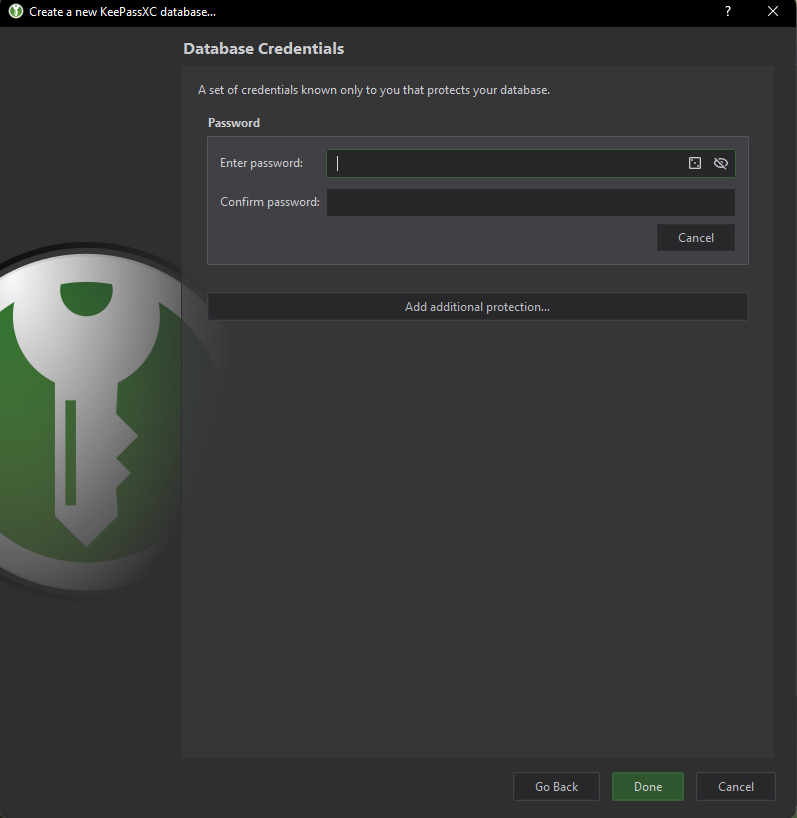
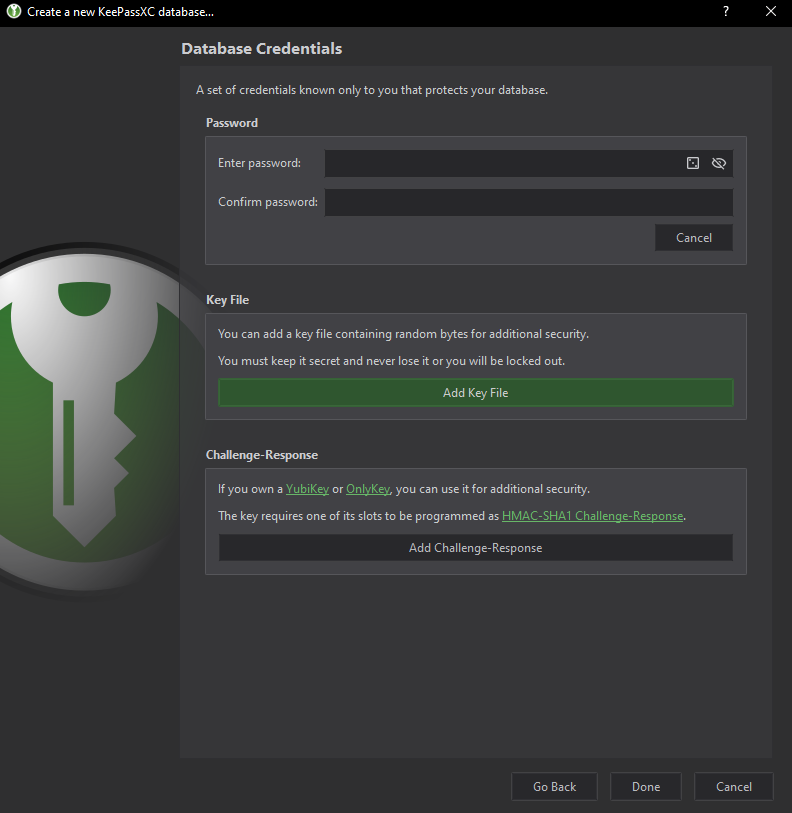
Once done, click on continue and you should be greeted with another window asking for your database's master password. This is important as this is the one that will be the one use as base for the encryption algorithm.
A strong master password is necessary however you do not need to go far as memorizing a randomized 20+ random character that is mixed with upper, lower, special and numeric characters. I recommend a password phrase instead such as "CorrectHorseBatteryStaple"
Master password alone is not enough, I recommend pressing the [Add Additional Protection] button as it allows you to add a Key file (which you can generate) and a challenge response if you own a hardware authentication device such as a Yubikey.
Adding a key file is easy, once you press the [Add Key File] button, an extended groupbox appears, just press the [Generate] button and that is pretty much it
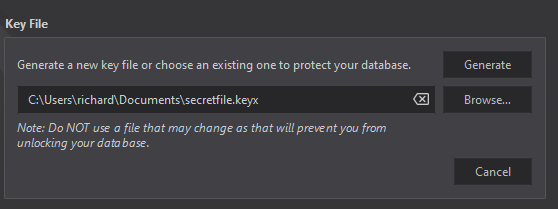
Do not forget that the key file is now an important piece when unlocking your database password. Consider it as a secondary password but you do not need to enter it, you just need KeepassXC to direct it to read the key file.
As for the challenge response, just simply insert your FIDO authentication device such as Yubikey and select that device in the dropdown. Usually a master password and a keyfile is good enough in most cases but if you are able to, also consider adding a challenge response for added security benefit.
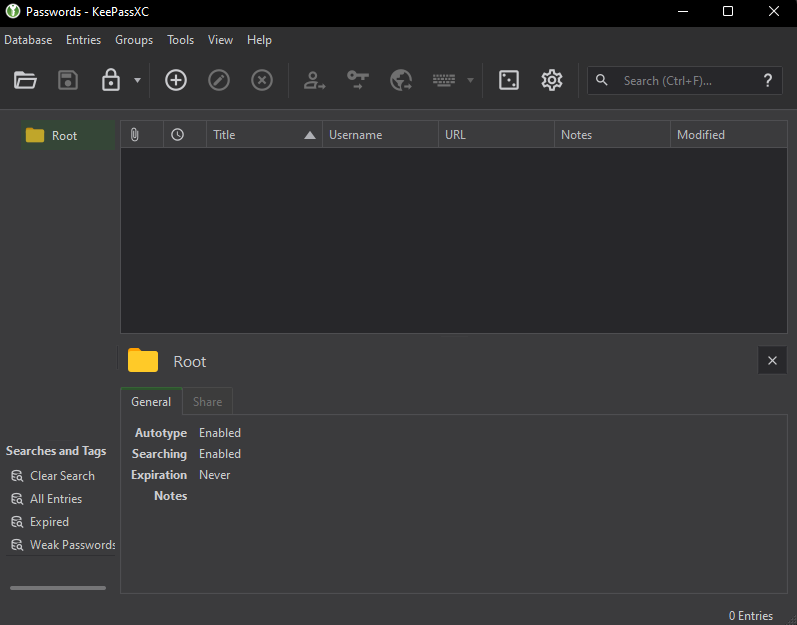
Once done, click on the [Done] button and congratulations, you are now halfway finish in setting up KeepassXC!
Browser Integration
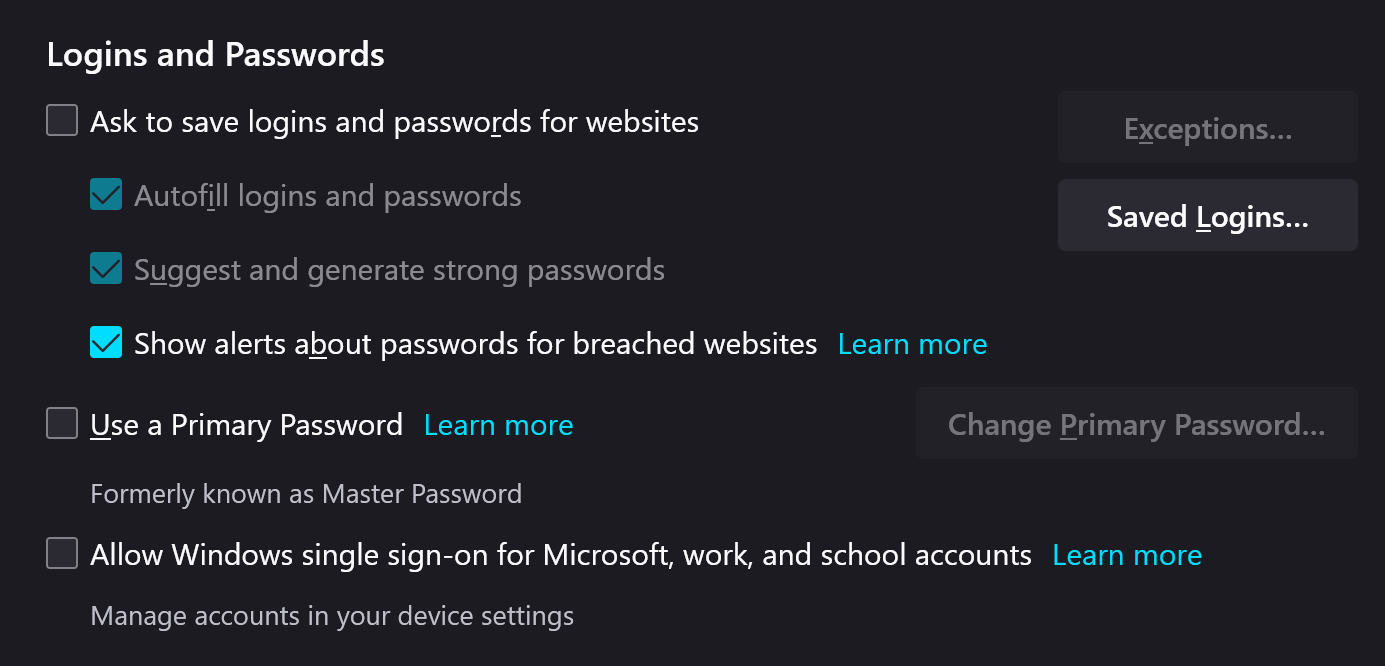
Although you are now able to manage your passwords manually, browser integration is a necessity. This is because it allows being able to easily save newly created accounts and autofill credentials bypassing basic keylogger attacks. Before we begin however, we must first disable the autosaving of passwords within your browser, this is to prevent the browser's built-in password manager from conflicting with KeepassXC.
You can follow these guides to disable password saving for the following browsers: Firefox[3], Edge[4] and Chrome[5]. Note: If your browser is not on the list, feel free to consult your browser's manual, or ask assistance on your browser's communication channel.
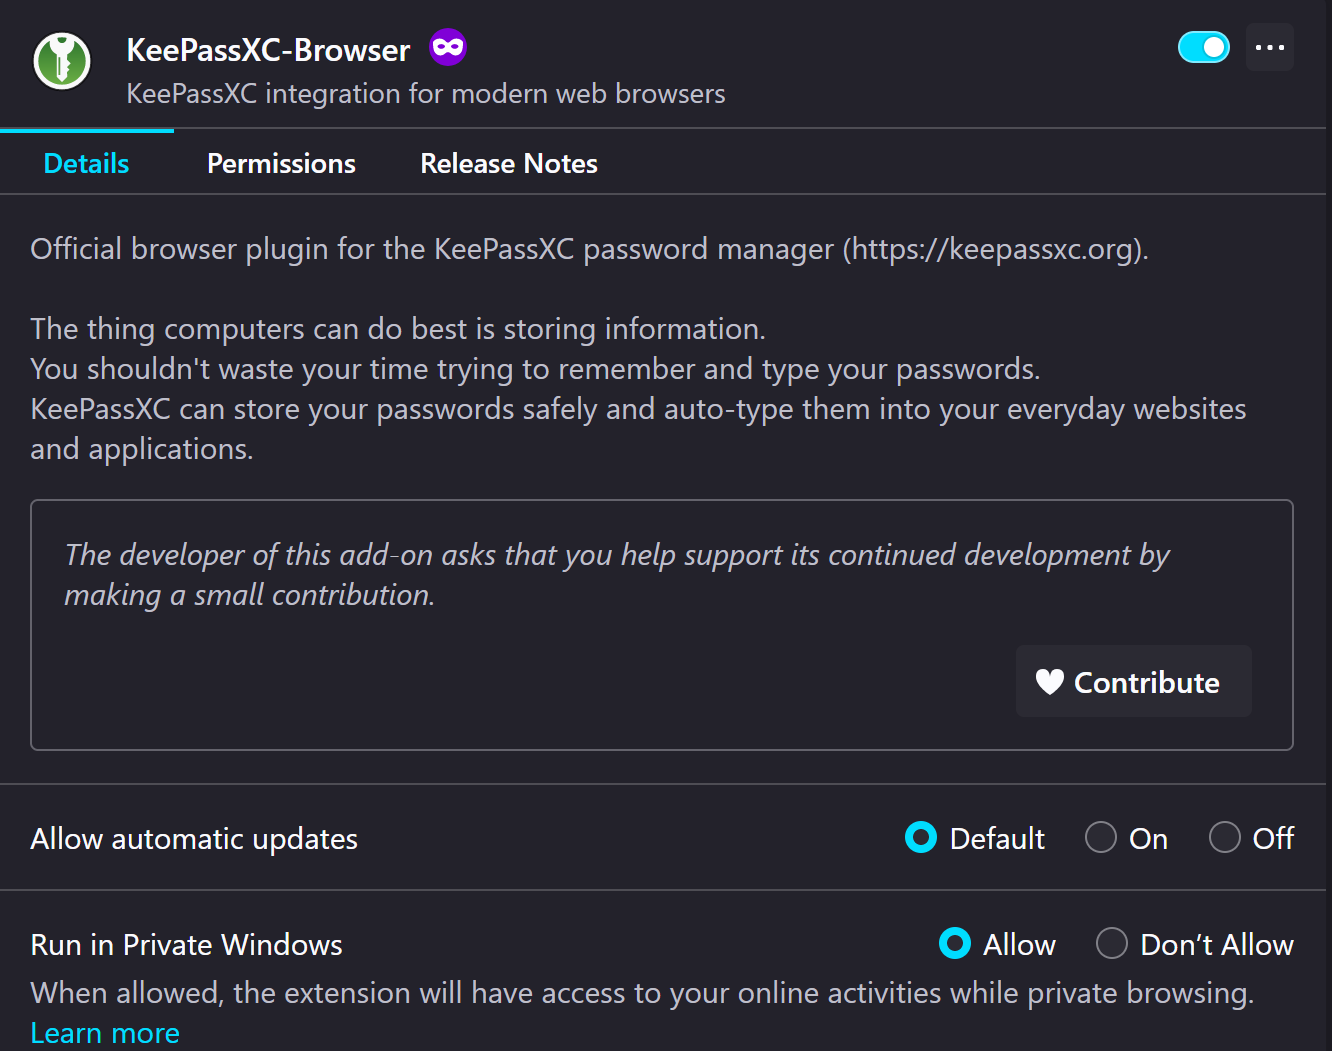
Once done, you then need to install an add-on named KeepassXC-Browser. You can download the plugin from these links on the following browsers Firefox[6], Edge[7] and Chrome[8].
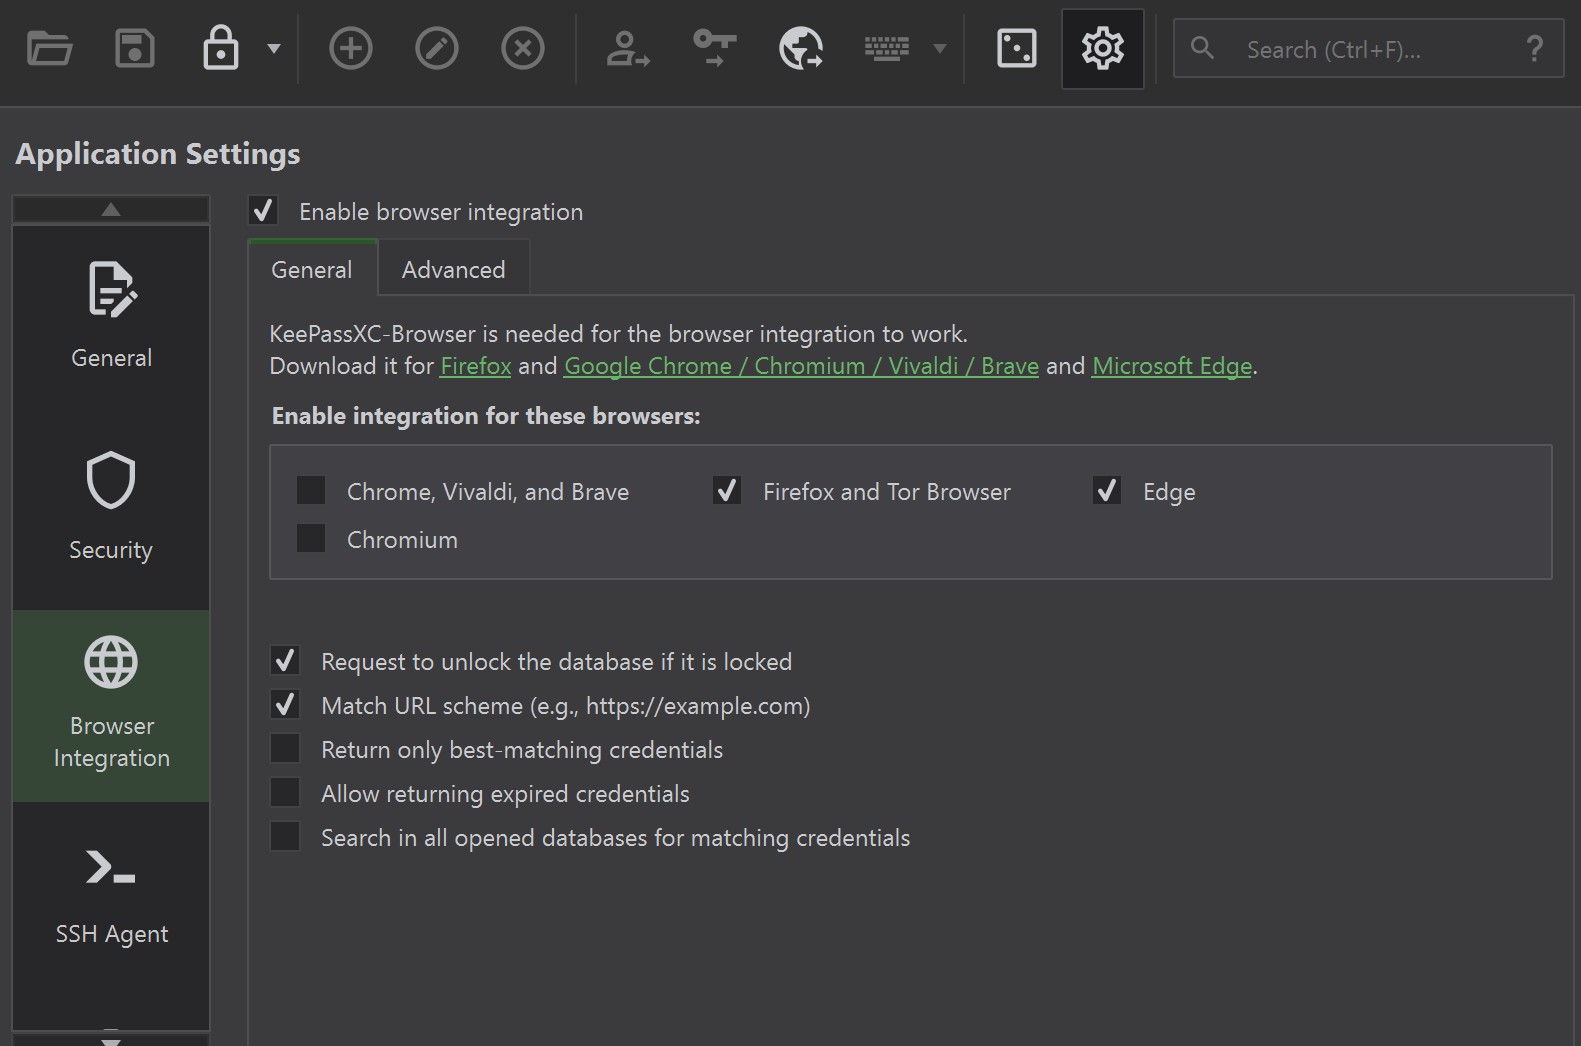
After downloading the plugin, we will have to setup KeepassXC browser integration setting and allow the recently installed plugins to access data from KeepassXC. To do this, on KeepassXC's main window, go to Tools > Settings and then a new window will appear then go to the Browser Integration section. and check Enable browser integration and then select and check the browsers that has KeepassXC-Browser installed
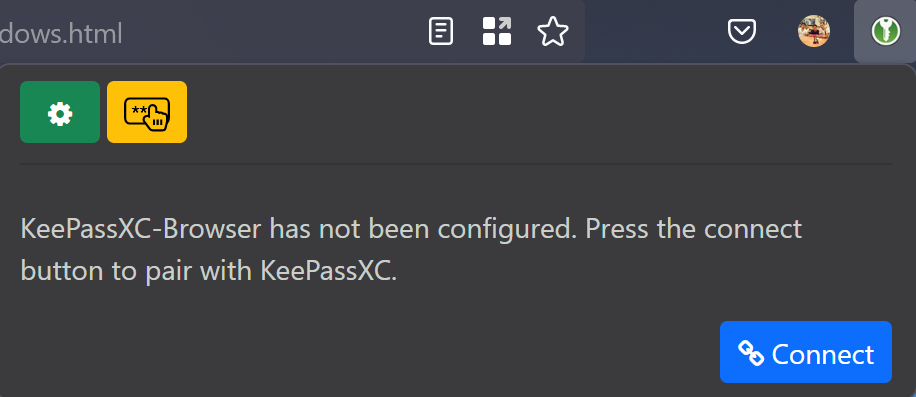
Finally, click the KeepassXC-Browser plugin from your browser and click connect (if the button name is not connect or you are getting a key-exchange is not successful, double check your steps as it means KeepassXC isnt setup properly).
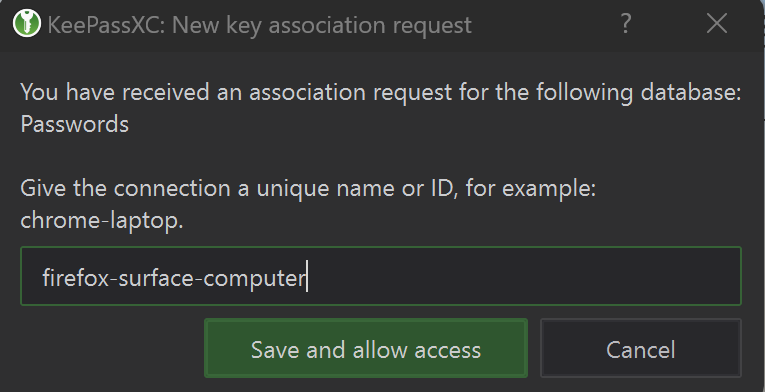
A prompt should appear asking for the name of the browser trying to connect and that's pretty much it! Enjoy your KeepassXC installation and your new and much secure environment!
Once that is done, the color of the plugin from your browser should change from grey to green, which indicates that it is connected. Take note that it is always necessary to open your database before the plugin gets to access the credentials.
This means everytime you turn on your computer, you will have to open the password manager and enter the master password. I understand that this is a tedious step but this is for security precautions.
Closing words
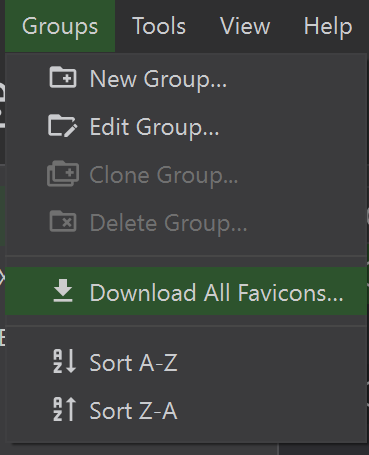
Now that your environment is much more secure than before, here are some additional things that you may want to use as these features are built within KeepassXC. The first one is favicons, favicons are just mini icons that distinguishes a site. KeepassXC allows downloading of favicons so you can easily distinguish the site on the main menu. It can be accessed on the Groups > Download All Favicons
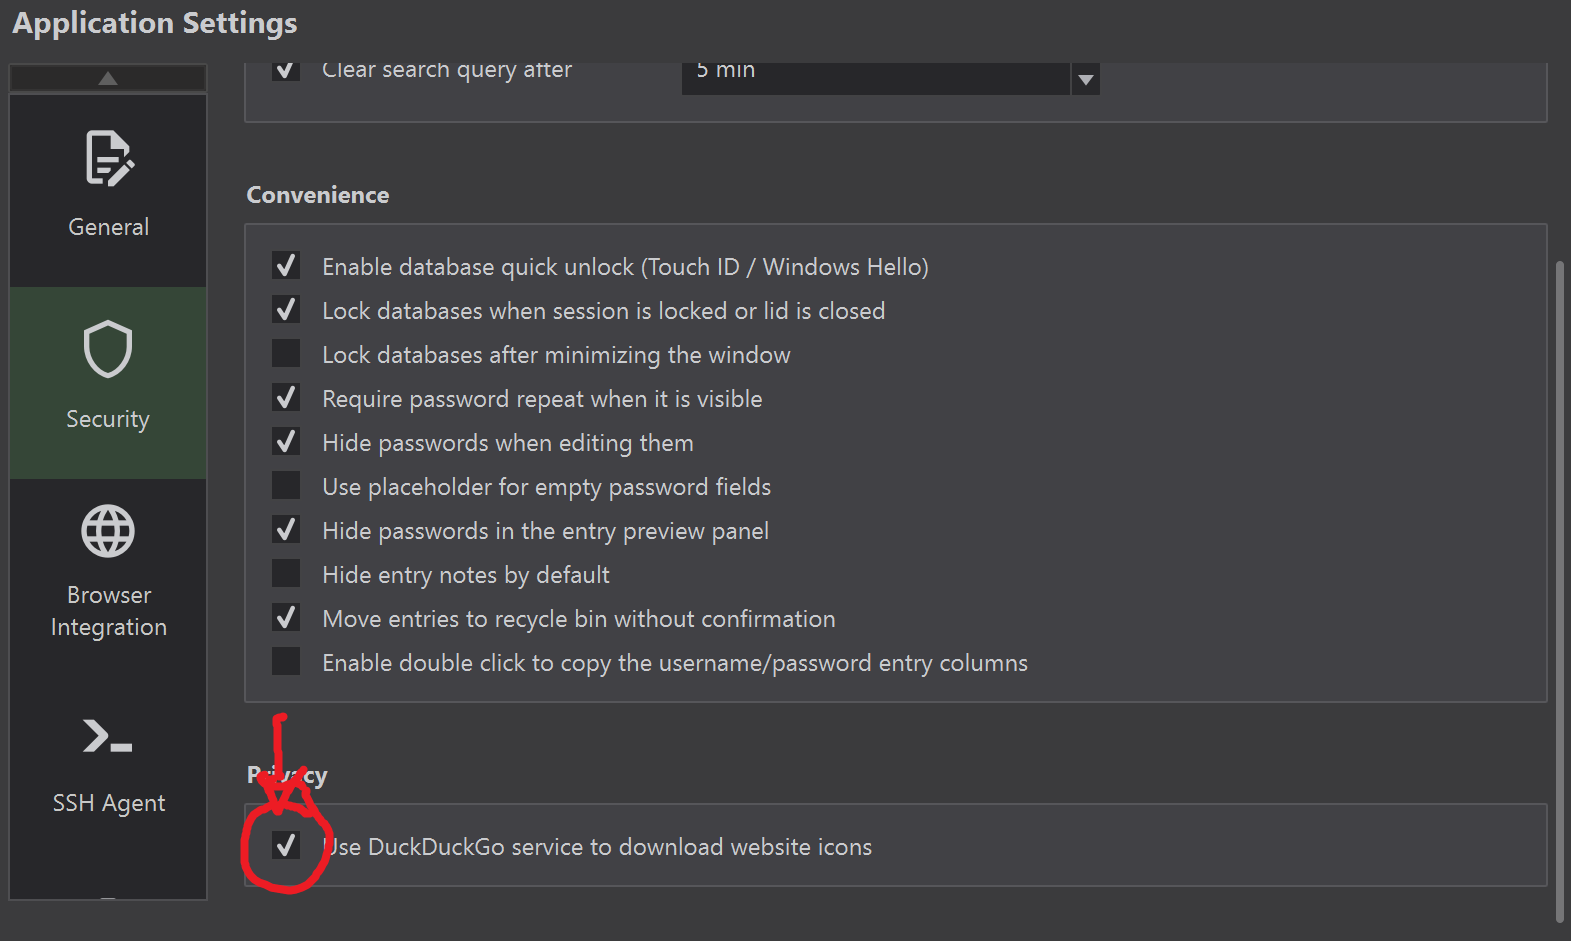
Sometimes certain sites have a slow download for their favicons, you can enable DuckDuckGo favicon search to speed things up. It can be accessed in Tools > Settings (Yes same settings you accessed for browser integration) and select Security.
KeepassXC can also be used to generate passwords, there is a standalone password generator function within the main window. It looks like a 3 dot dice icon.
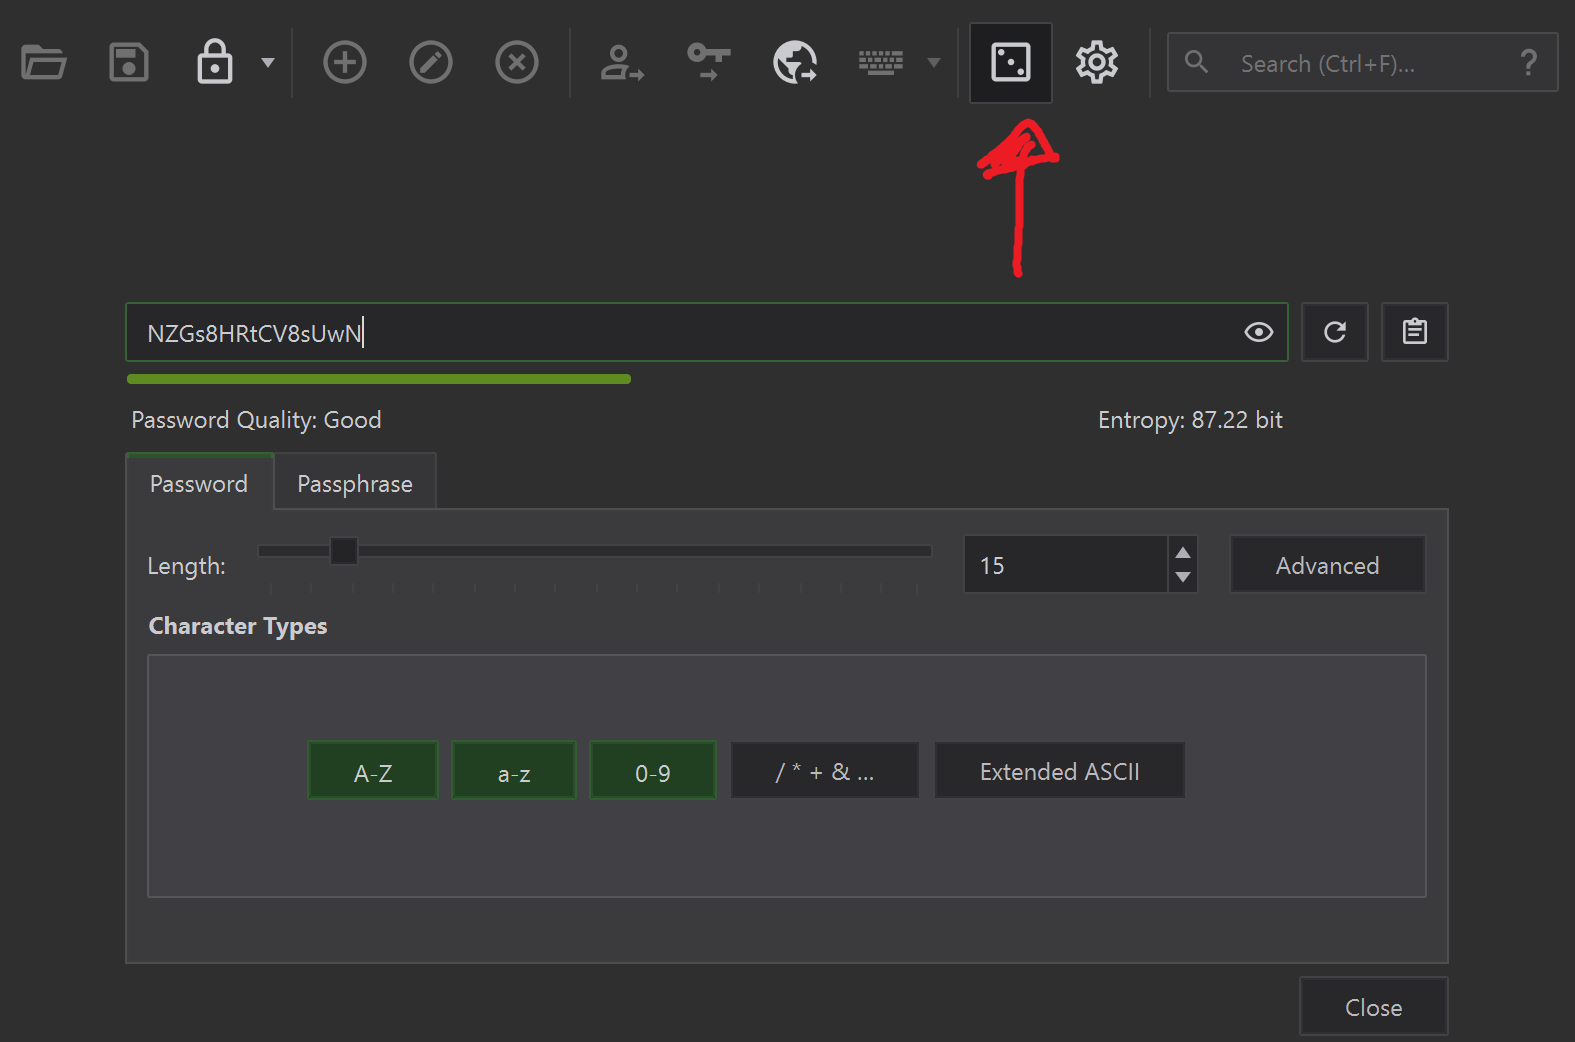
It should be noted the same password generator is also integrated in KeepassXC-Browser when encountering a password field. Pretty awesome stuff.
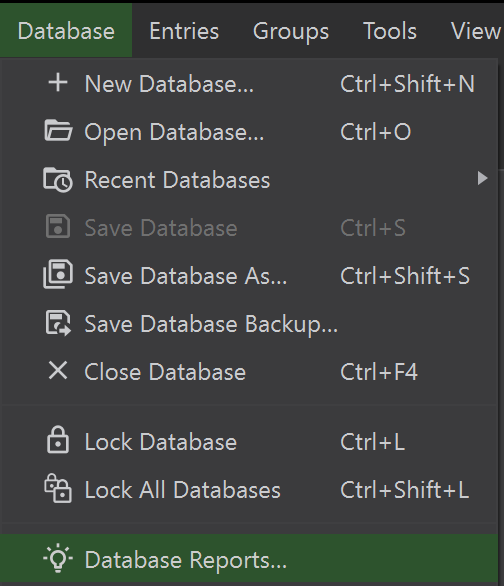
Finally you have access to database reports, from here you can know exactly how many entries you have and unique passwords you have. How bad your password reuse is, Health checks, and an ability to query your logins if it is in the HaveIBeenPwned database.
There are plenty of more features that you can explore yourself, including automatic database locking (I highly encourage), SSH integration and etc. Enjoy!